
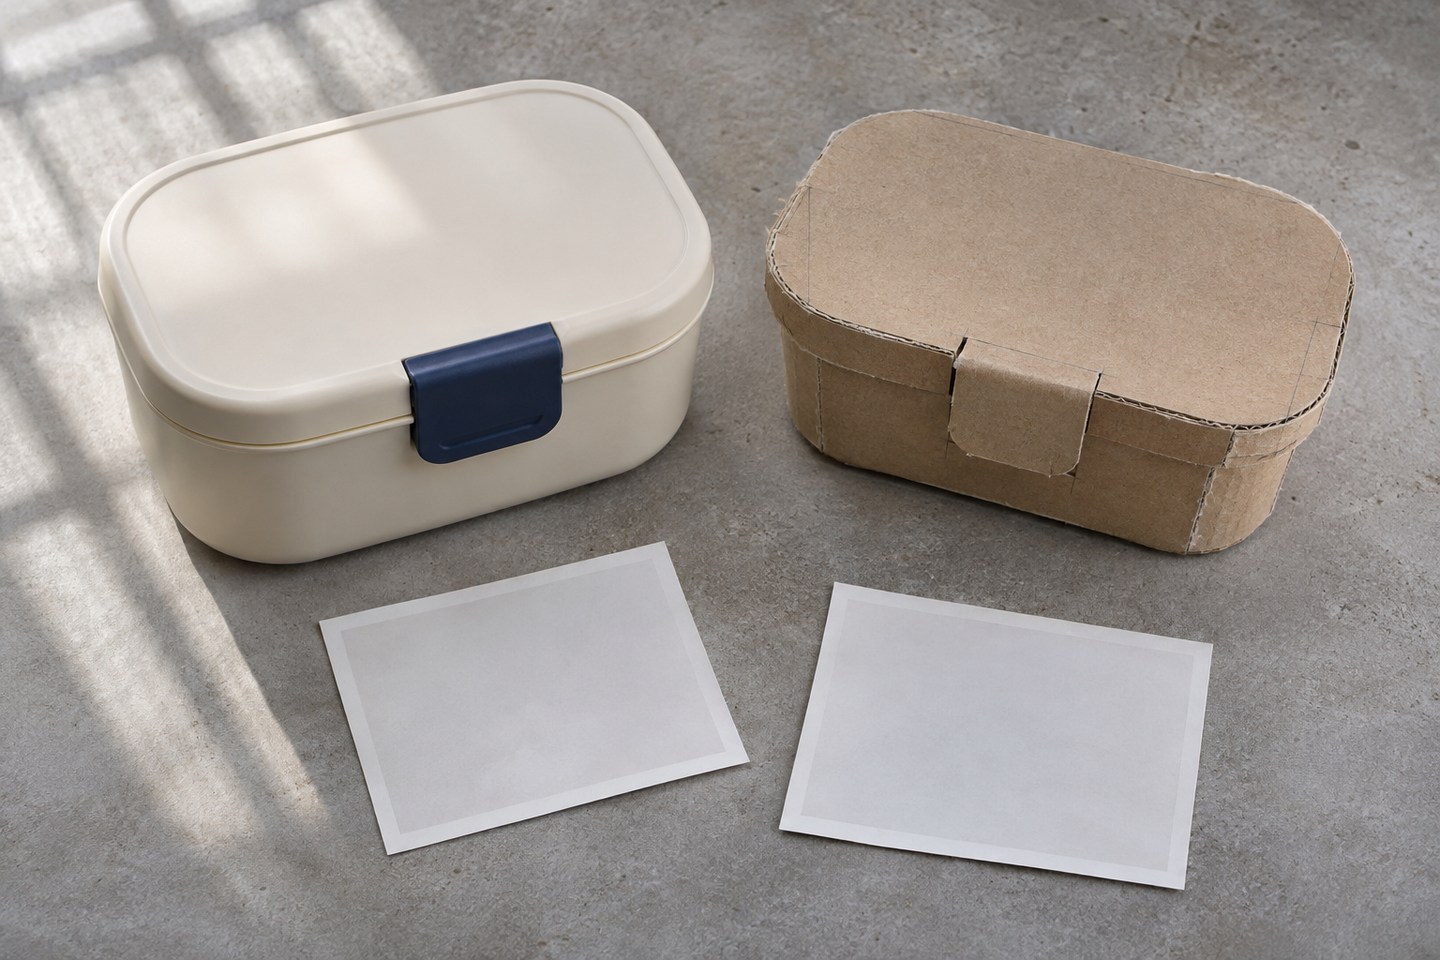

Put the status of each product image next to the image. A photograph can document an existing prototype. A concept rendering can show a planned form or finish. A lifestyle backdrop can show a use setting. The label helps a potential buyer see how much each image tells them about the product available to order.
This article was prepared for Uyo as a sponsored placement. The product, images and pre-sale example are fictional.
Use the same evidence standard for conventional design software, photography and generative editing.
AI-generated illustration of a fictional prototype workbench.
Separate physical evidence from a proposed design
Photograph the prototype you can physically inspect. A caption such as “Working prototype photographed during assembly” makes the stage clear. If the sample has a different latch, material or interior from the version offered, name that difference in the caption close to the claim. If people need to see that it opens one-handed, include a real photo sequence or video of the feature working on the available prototype and state what they are looking at.
Use “Concept render” for artwork that shows a planned product or finish. Add one short detail if the difference matters. “Concept render of the proposed navy latch” is far more useful than a universal footnote saying images are for reference. If the configuration changes, that caption gives the team a specific claim to update.
A copyable label has three parts. Name the image type, name the thing it shows, and give its current status. For example, “Concept render. Proposed navy latch finish. Material choice pending.” Put the state in the mobile gallery itself and restate it where the adjacent product claim depends on it.

Ask a colleague to read only the caption and tell you which product decision is settled.

Keep each label in its gallery slide so it stays visible after swiping.
Use “Illustrative setting” for a visual meant to suggest where something might fit. Keep the sentence narrow. “Illustrative setting for a desk lunch” does little to imply stain resistance, heat tolerance, or size unless those things are shown or claimed. When an editor changes the surroundings, compare the product area with the original. Uyo’s reference photo editor is one way to explore a different scene from an approved image. Check whether the result also redraws the item. If it does, publish the original as evidence and label the new image as an illustration if it still has a clear use.
Put one decision beside each image in the page brief
Imagine a pre-sale for a reusable lunch container with an early working lid.
- The top gallery uses a real photo captioned “Working prototype with the first latch design.”
- The next image shows how the proposed navy latch might look. Caption it “Concept render. Latch finish is planned.”
- A close-up shows the actual internal tray beside a ruler. Identify it as the prototype and use only confirmed measurements.
- The image beside the button places the container on an illustrated office desk. Label the scene near the image and keep specifications in nearby text.

Read the buyer-facing claim and the linked image together before publishing.

Check that labels remain visible on every gallery image.
On a phone, test the gallery after swiping to each image. A visitor should be able to see the status without opening a hidden accordion. Copy captions into the review checklist for the page, and make somebody other than the maker verify whether each caption supports the neighboring claim. Replace both the caption and the image together when a final production sample arrives.